
Choose your location
To make sure you're seeing the correct availability and pricing for products and services, please choose your location:
Please select your local dealer
So that we can provide you with accurate information and subscription options for your area.
Listed below are product manuals and/or set-up instructions for select Invisible Fence® Brand Solutions.
Need help from your Local Dealership? Visit our Customer Portal to schedule or cancel existing appointments.
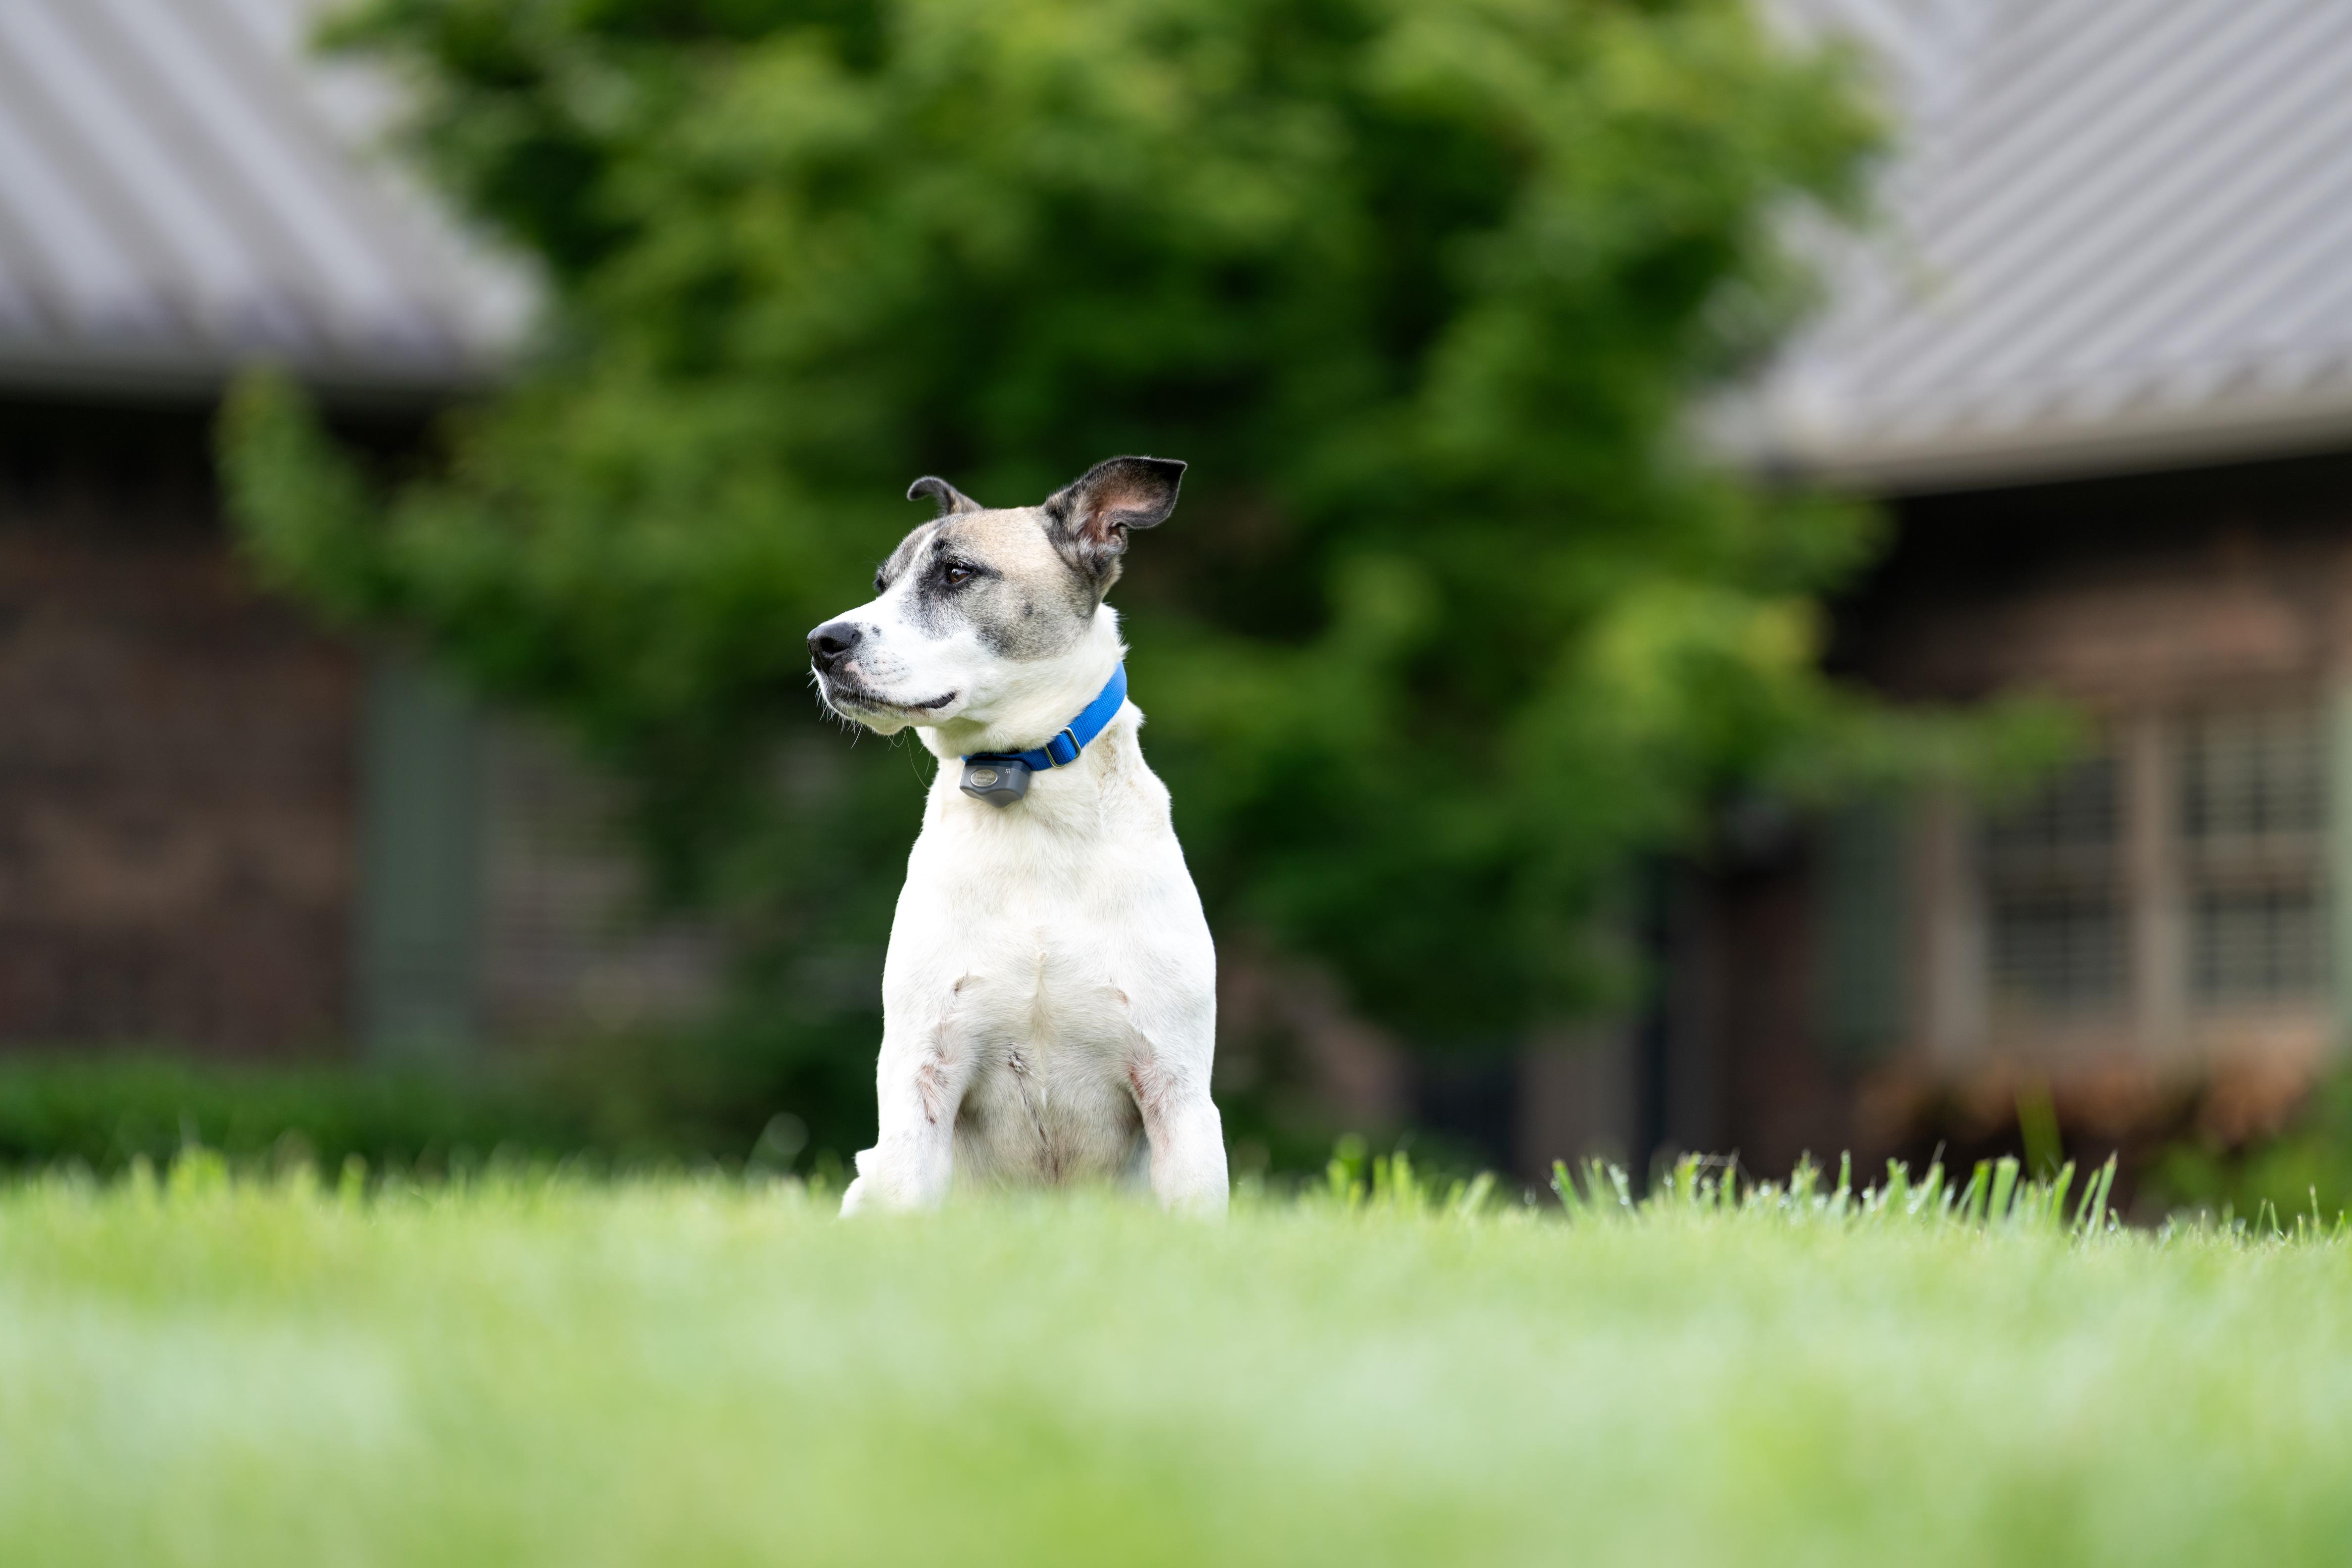
The Boundary Plus® Wired System is the perfect solution for any size yard. The system provides your pet on average 30% more yard space to enjoy, so it’s the perfect fit for tight spaces or uniquely shaped lots. As the only in-ground fence that offers a correction-free return, the boundaries are based on time and not distance. This consistently reinforces their training and teaches them to stay close to home.
Download Manual for:
The Boundary Plus Smart® System provides all the benefits of the Boundary Plus Wired System in an app-based pet containment system that lets you be more connected to your pets. Receive 24/7 alerts to your phone on the health of your system and the battery life of your pet’s collar. Plus, the convenience of rechargeable batteries for your pet’s Boundary Plus Smart® System computer collar.
Invisible Fence® Brand's GPS Wireless System is one of the most advanced pet fences on the market. With options to customize boundaries, this is ideal for large properties. There is no maximum yard size - so you can choose your desired size and shape.
Download Manual for:
Enjoy the peace of mind that comes with knowing your pet is safe and secure whether they're playing in the backyard or exploring new adventures away from home. First year of the annual tracking subscription included with purchase.
Download the Invisible Fence® GPS Collar QuickStart Guide.
Looking for more GPS Support? Check the GPS Fence Support page.
Enjoy freedom wherever life takes you with our enhanced, more accurate GPS fence technology from our family of dog experts. The new Flex™ Fence GPS dog collar offers a convenient, yet safe solution for your dog at home or on the go. Exclusive access to our training videos help guide through the process you and give you peace of mind. This product also comes with the first year of LTE subscription FREE so you can track your pet in real time.
Download the Invisible Fence® Brand Flex™ Fence GPS Dog Collar QuickStart Guide.
Looking for more GPS Support? Check the GPS Fence Support page.
Outdoor Shields Units help you create adjustable Invisible® barriers that let you protect your yard and pet. Fully compatible with your Invisible Fence® system, Outdoor Shields add an additional level of custom protection to help your pet avoid specified areas.
Download the Outdoor Shields Units Owner's Manual and Operating Guide.
Similar to the Outdoor Shields® Unit, the Outdoor Shields Plus Unit allows you to create Invisible® barriers to help your pet avoid specified areas. However, the Outdoor Shields Plus solution and Computer Collar® Units allows you to set different rules and boundaries for different pets.
Download the Outdoor Shields® Plus Unit Owner's Manual.
Instructions for set-up
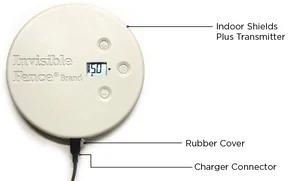
The Indoor Shields® Plus Unit allows you to dog proof or cat proof your home with the drop of a disc. Customizable to each pet, Shields Plus is fully compatible with our patented Boundary Plus Wired and exclusive Doorman™ Electronic Dog Door for a total home solution.
Download the Indoor Shields® Plus Unit Owner's Manual and Operating Guide.
Instructions for set-up:
All the protection and convenience of the Shields® Plus, just smaller. Small enough to move throughout the house, the Indoor Micro Shields® Unit is a great way to keep enthusiastic dogs away from trashcans, house plants, shoes, and more.
Download the Indoor Micro Shields® Unit Owner's Manual and Operating Guide.
Instructions for set-up:
Using radio-frequency technology, the Invisible Fence® Brand Doorman™ Electronic Pet Door gives your pet the freedom to let himself in and out. Convenient and secure, the door automatically locks back into place so that no unwanted visitors can come in.
Download the Doorman™ Electronic Pet Door Owner's Manual and Operating Guide.
Smart Doorman™ Electronic Pet Door has the same features of the original Doorman but incorporates the Boundary Plus Smart® System app where you can add and set up you pets and have 24/7 alerts delivered to your phone.
Download the Smart Doorman™ Electronic Pet Door Owner's Manual and Operating Guide.
Invisible Fence® Brand's MicroLite® Computer Collar® is compatible with 700 and 800 Series Transmitters to contain your pet within areas you choose, or teach your pet to avoid specific areas such as flower beds, gardens, or pools. The MicroLite Collar is a patented microprocessor-controlled device, powered by a patented Power Cap® Battery.
Download the MicroLite® Computer Collar® Unit Owner's Manual and Operating Guide.
Invisible Fence® Brand's MicroLite® Plus Computer Collar® Unit is a patented microprocessor-controlled device, powered by a patented Power Cap® Battery. The MicroLite Collar is compatible with both the Boundary Plus® and 800 Series Transmitters to help your pet know where the boundaries are.
Download the MicroLite® Plus Computer Collar® Unit Owner's Manual and Operating Guide.